E-Drill
Delve into our comprehensive curriculum, tailored to empower technicians with the knowledge and expertise required to optimize E-Drill performance in aerospace maintenance.
Filter E-Drill Academy Videos
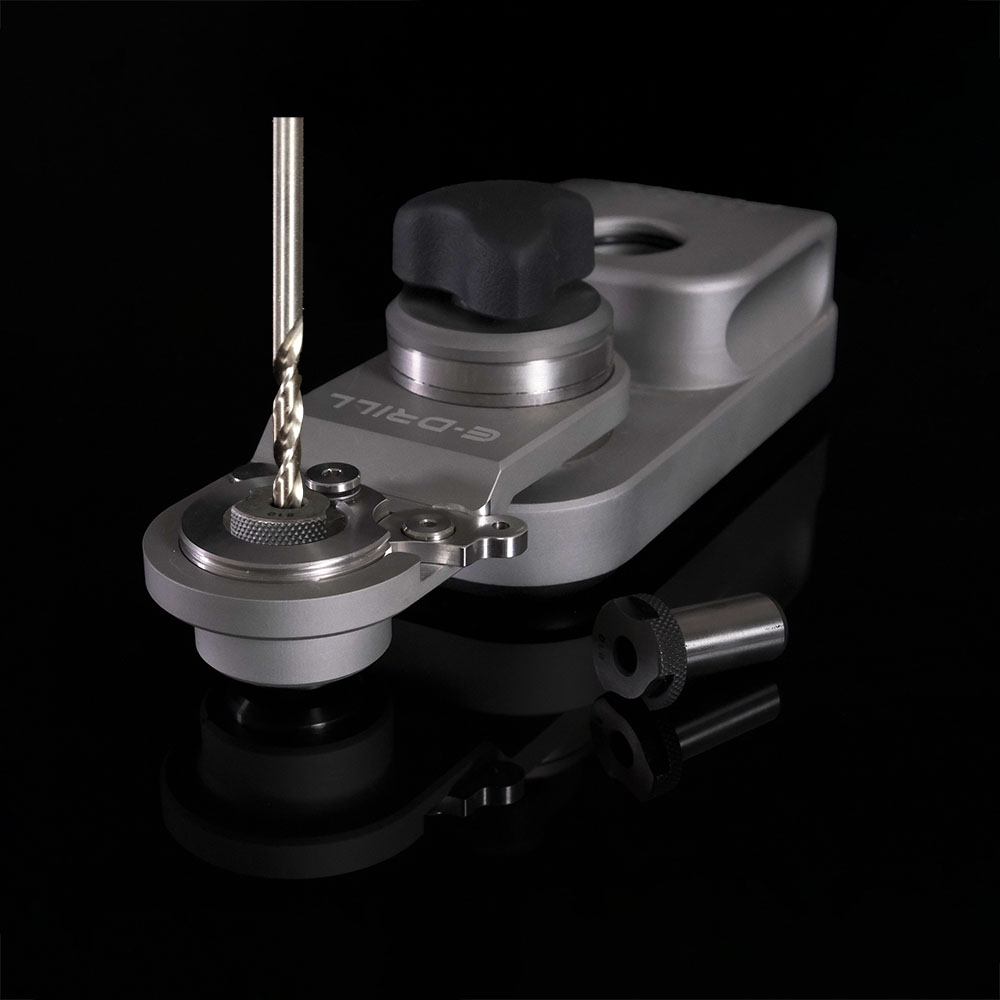
Vac-Exact Precision Drilling: Setup and Operation
Vac-ExactUser guides and other training and maintenance related documents...

Documentation
E-Drill 1.0, E-Drill 2.0, S-BlasterUser guides and other training and maintenance related documents...

Build and Edit Fastener
E-Drill 2.0How to build new fasteners and edit existing fasteners already available in the fastener library...
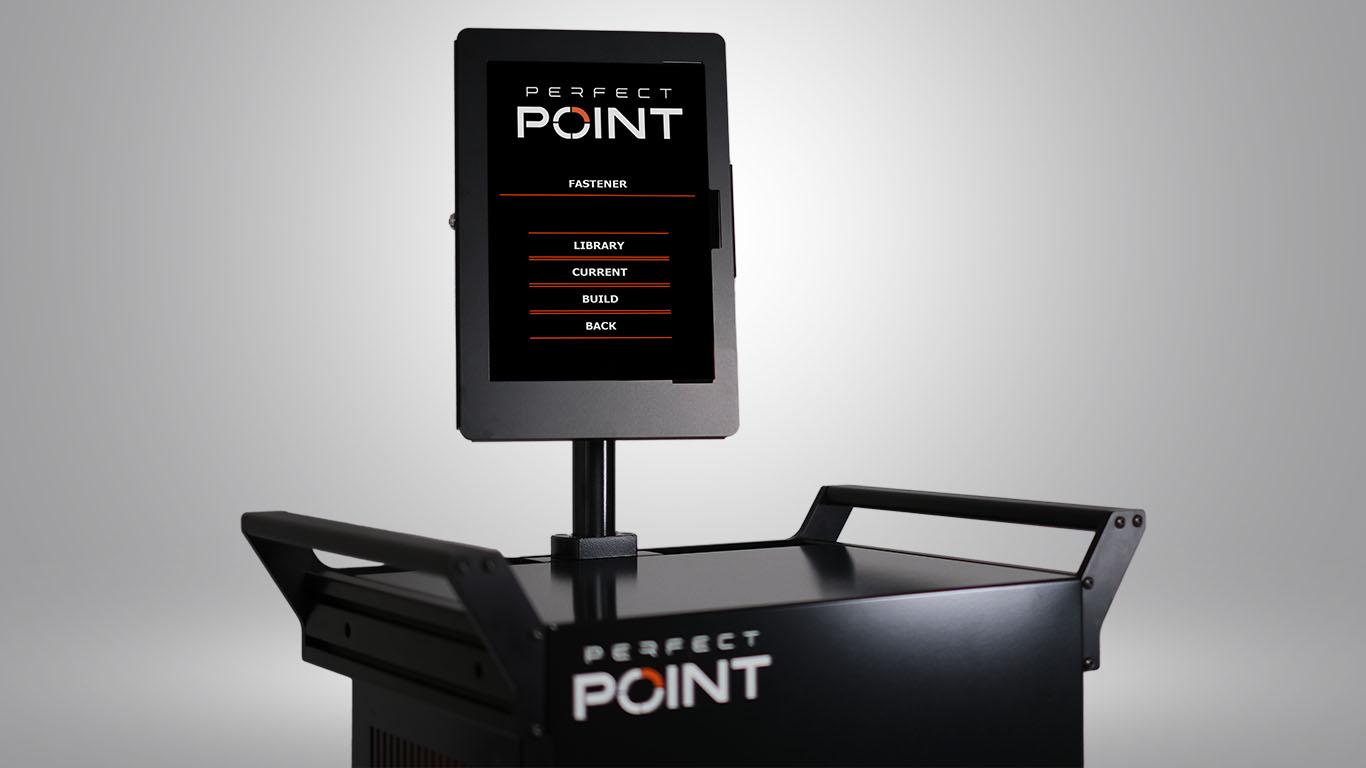
Create and Edit User
E-Drill 2.0User access levels are designed to ensure the proper use and management of the tool...
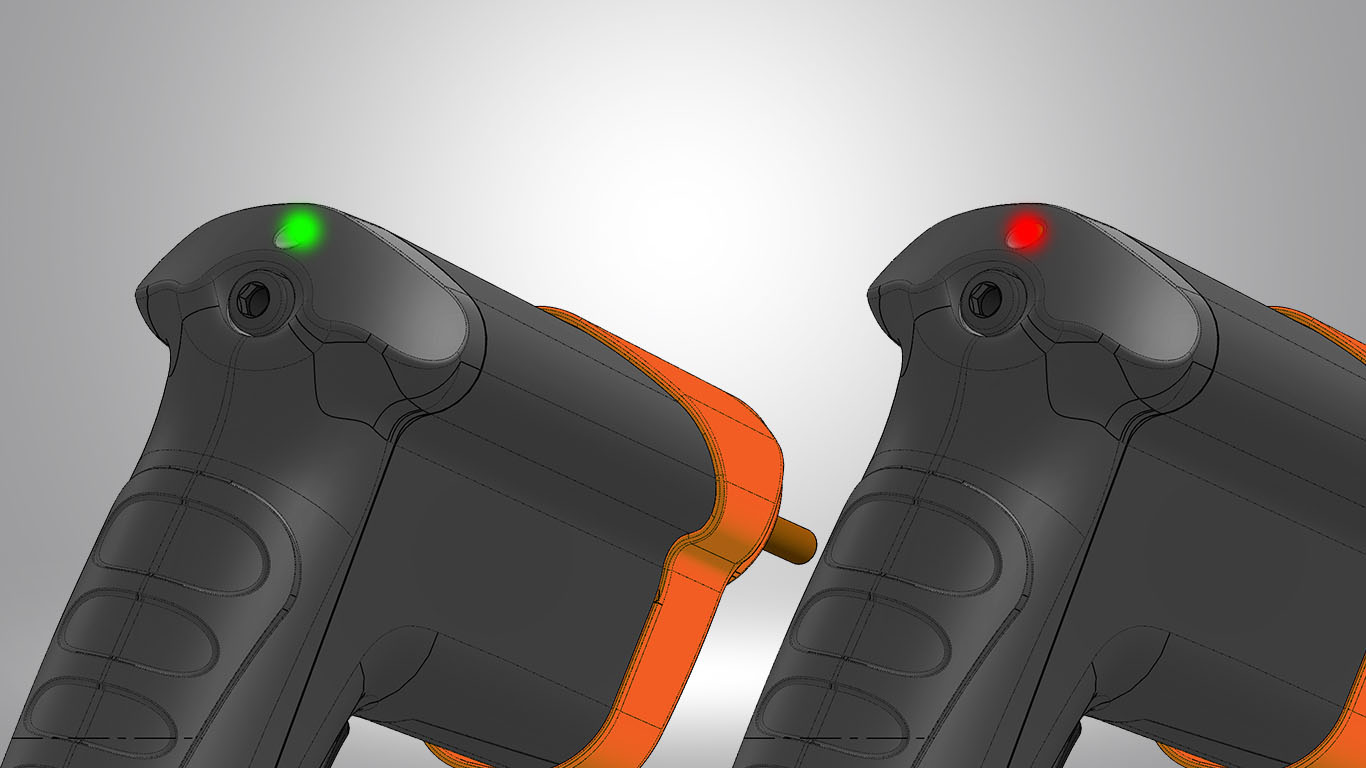
E-Drill Status Lights
E-Drill 1.0, E-Drill 2.0The Status Light communicates various conditions during operation. The status light effects are as f...
System “Top Off”
E-Drill 2.0The DI water system requires periodic filling or “Top-Off” to replace tiny amounts of DI water lost ...
E-Drill 2.0 Daily Checklist
E-Drill 2.0Please follow this checklist to maximize the performance and reliability of your E-Drill System....

Troubleshooting Tables
E-Drill 1.0, E-Drill 2.0Common maintenance issues encountered and their solutions. In the event of issues, it is recommended...

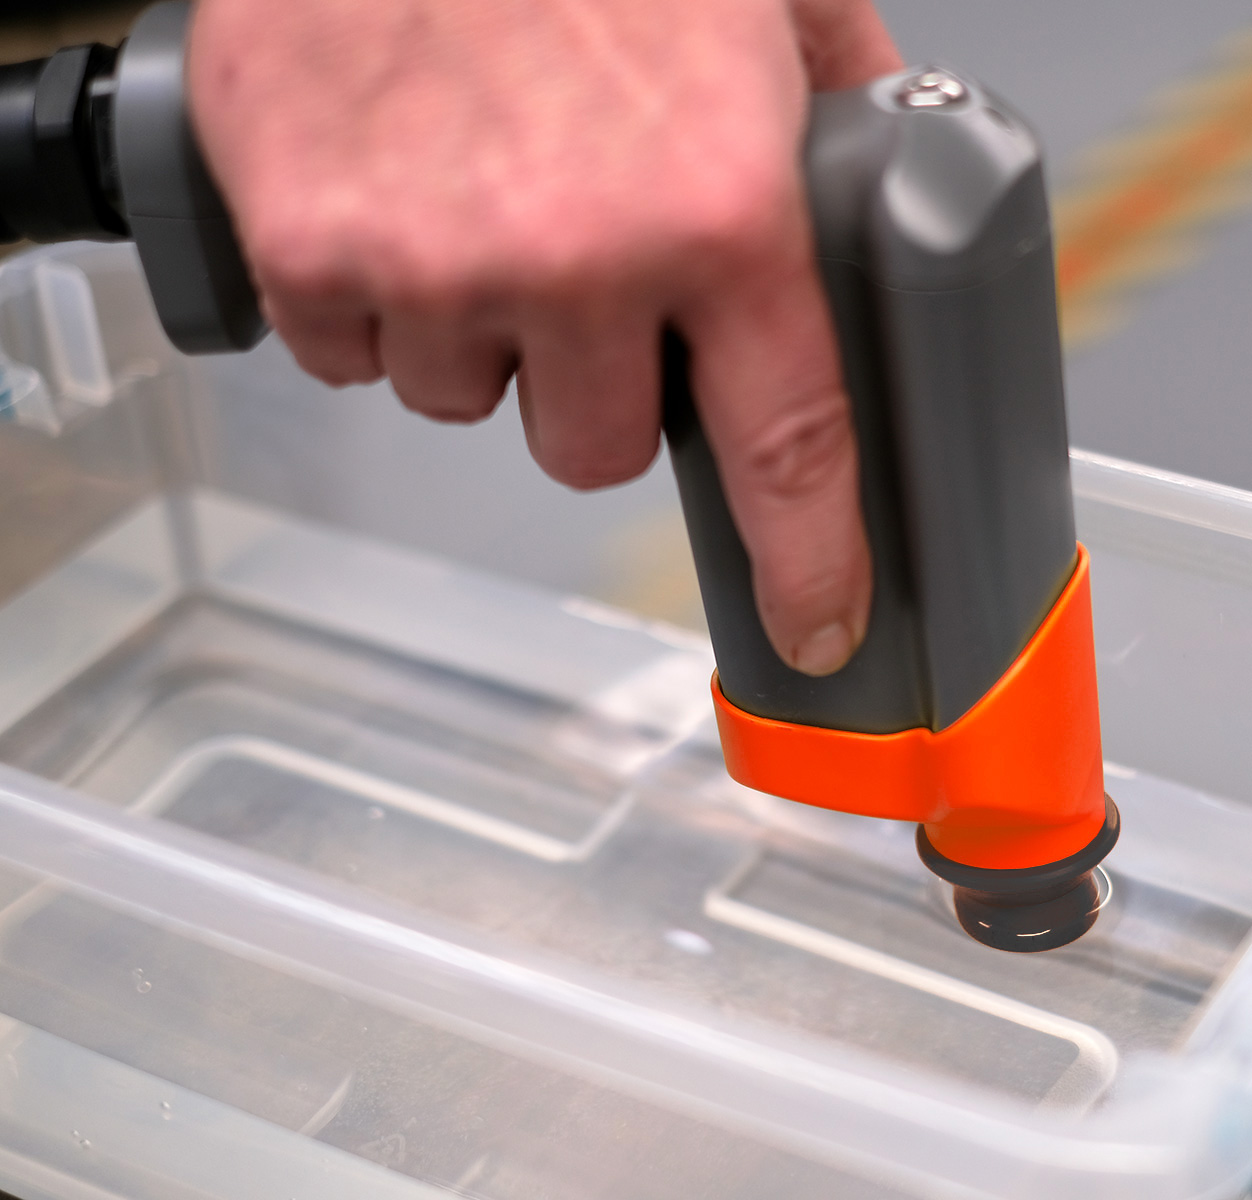
System Bleeding and Charging Procedure
E-Drill 2.0Bleeding and charging are sometimes required to assure there is no trapped air in the DI system....
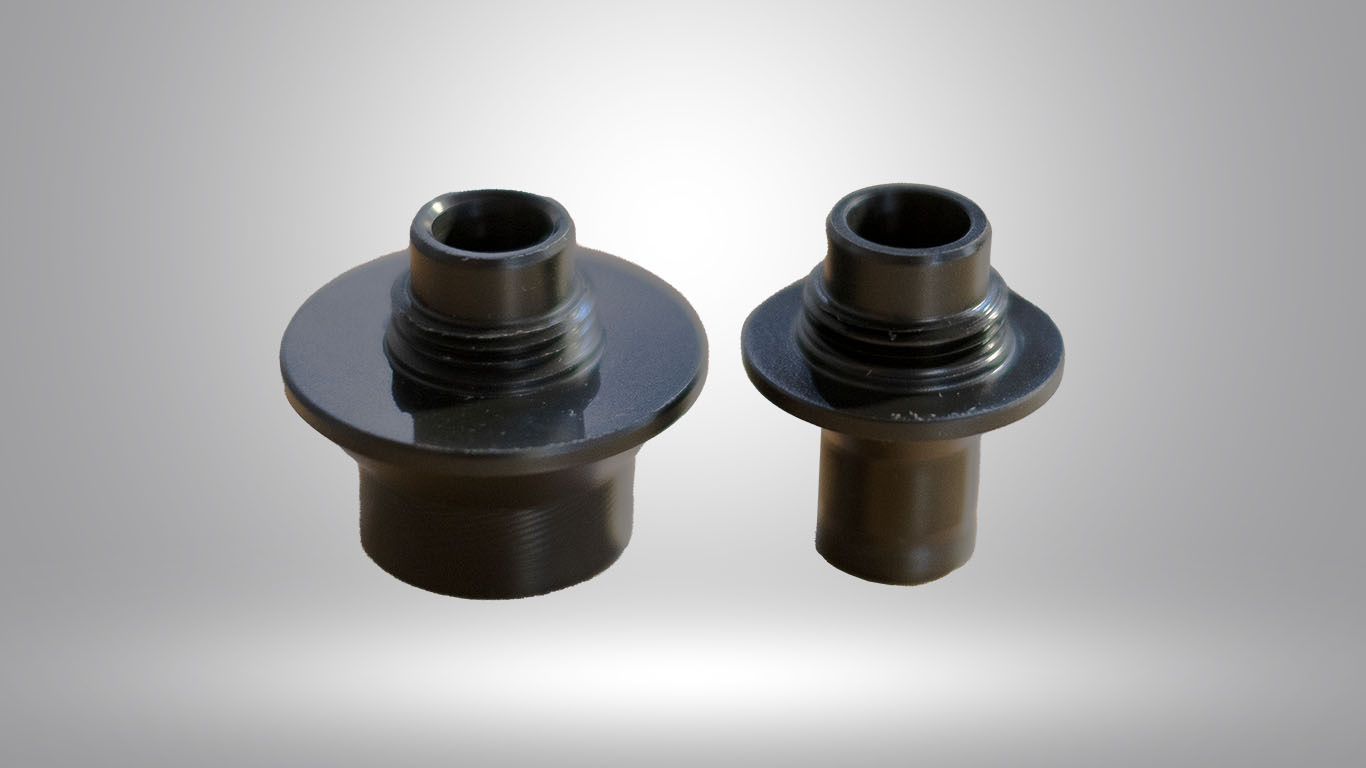
Ground Pin Replacement
E-Drill 2.0Ground Pin should be checked regularly for excessive burning or damage and correct protrusion from t...
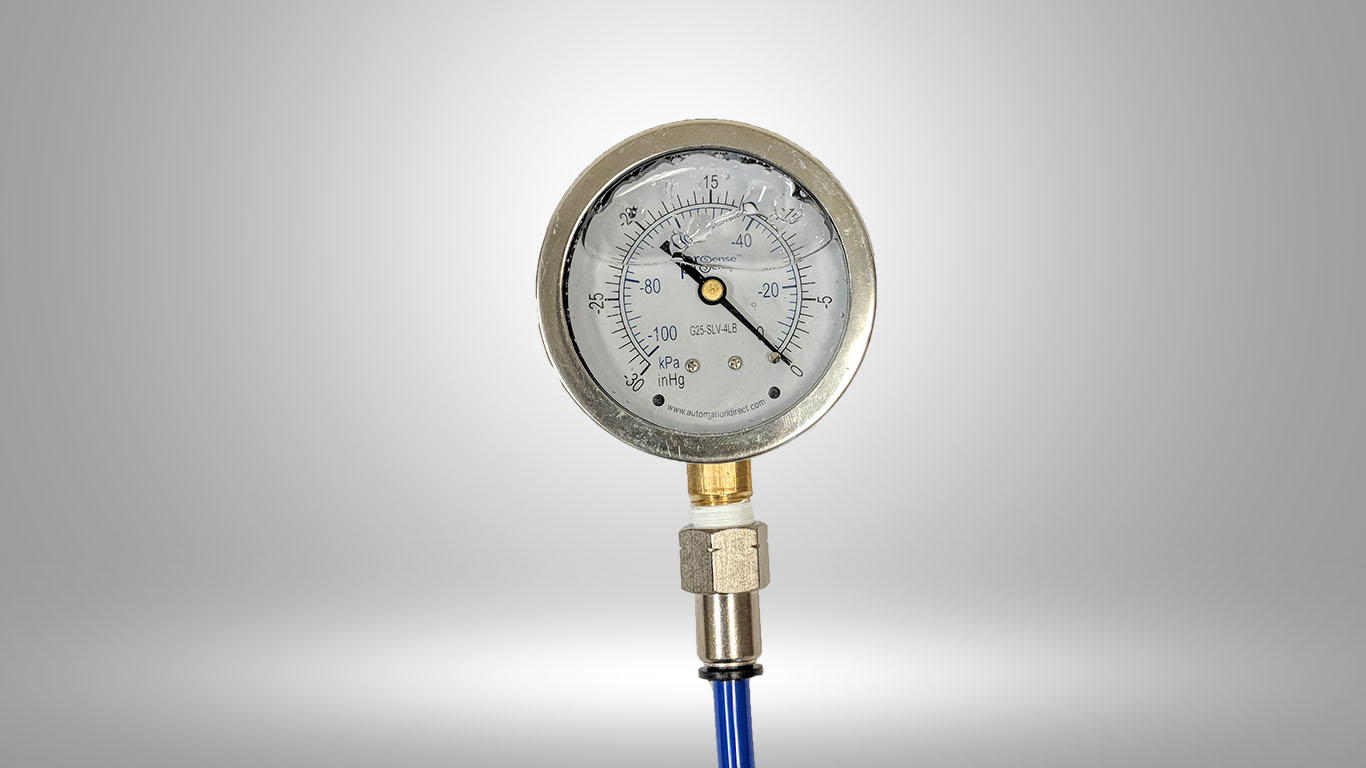
Checking Vacuum and pressure
E-Drill 2.0The system is provided with Vacuum and Pressure gauges to check the performance of the Dielectric wa...
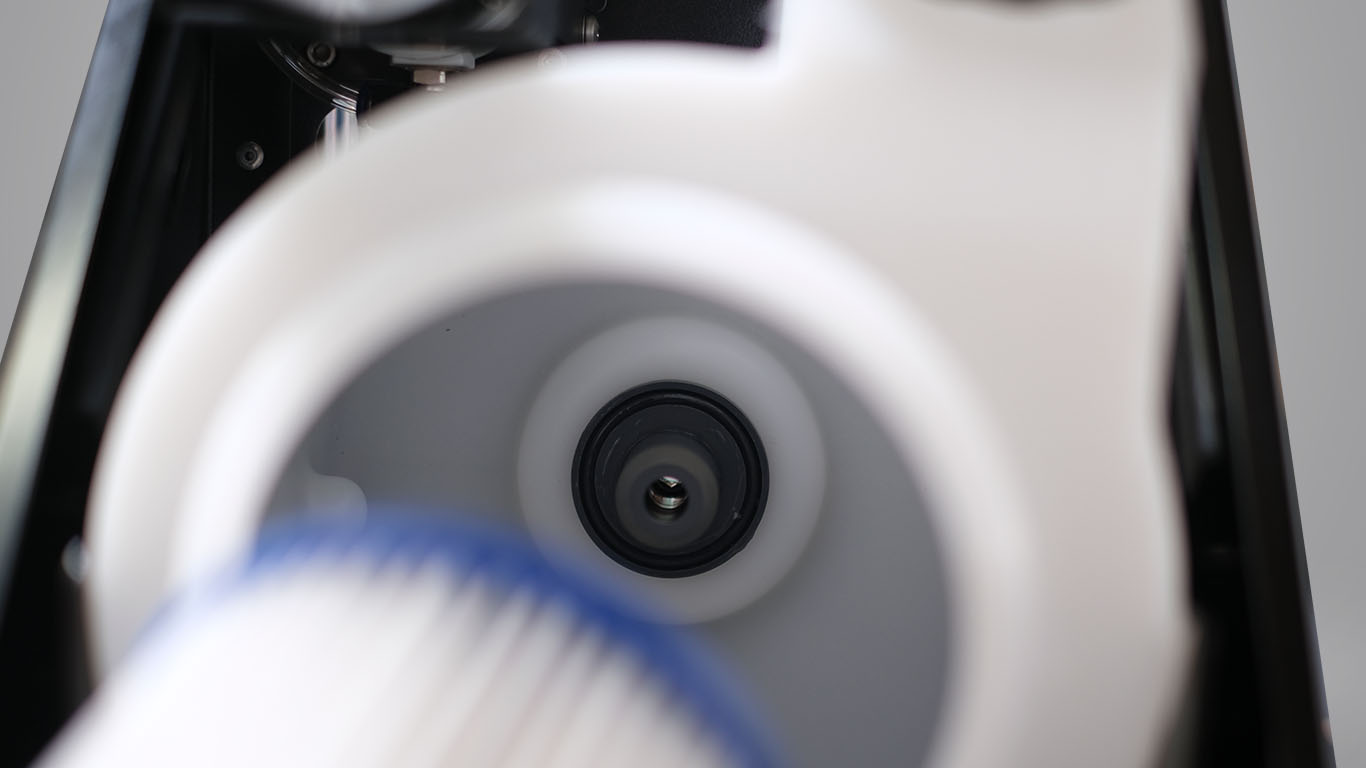
Empty And Clean Sediment Tank
E-Drill 2.0Sediment tank cleaning is conducted as follows: Loosen the knob underneath the tank and slide the t...
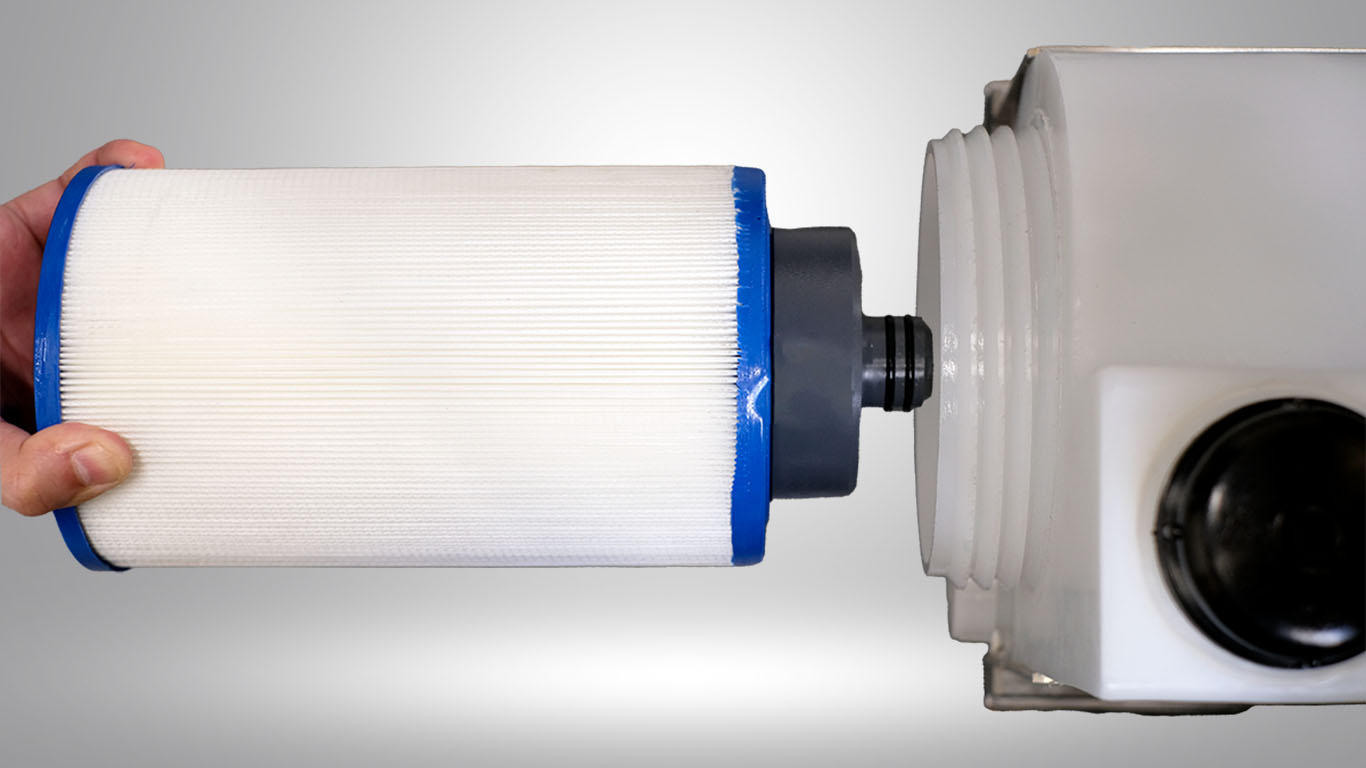
Replace Filter and Remove Sediment
E-Drill 2.0Once the tank is empty, Use the provided strap wrench to remove the large cap in the center of the t...
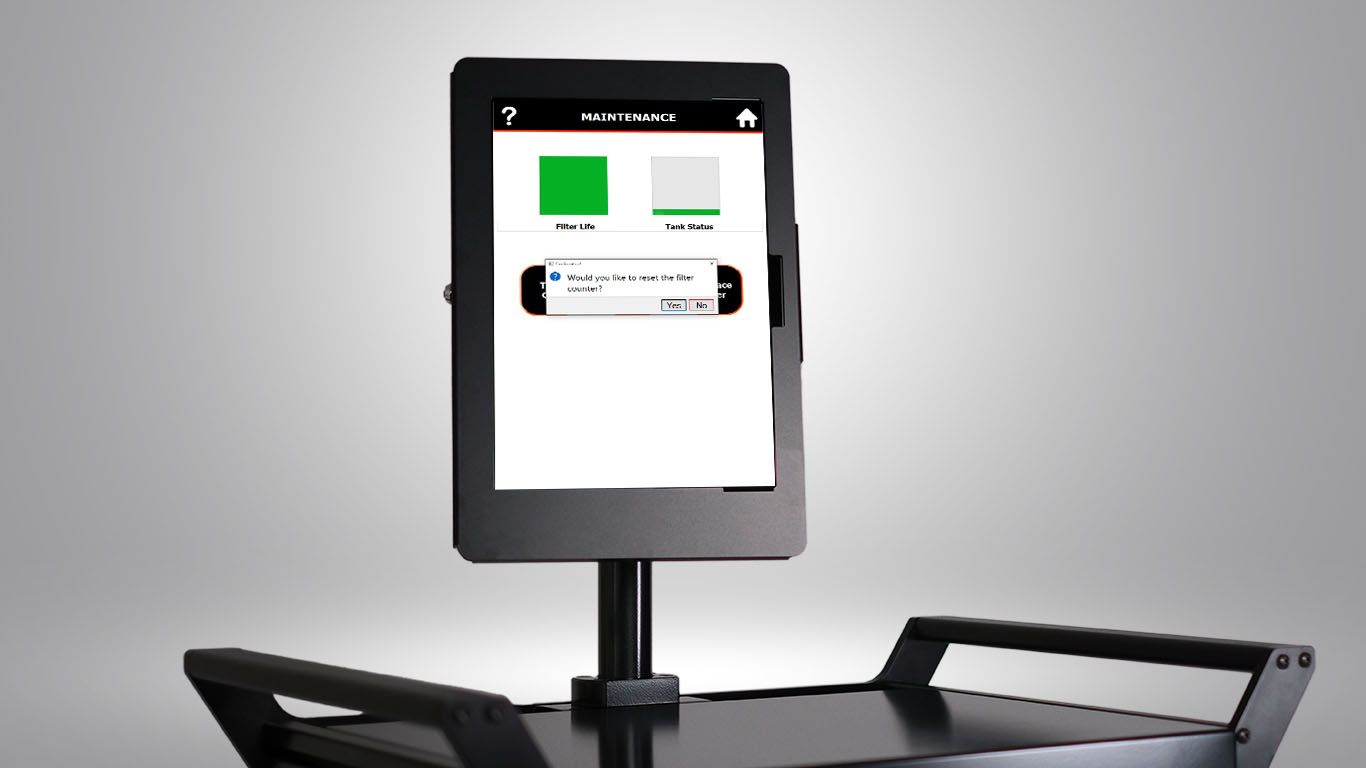
MSU Maintenance Warnings and service procedures
E-Drill 2.0Status section of the Current Part screen will provide a maintenance warning when 500 cut cycles rem...
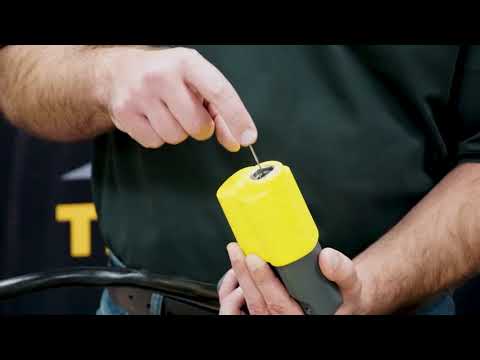
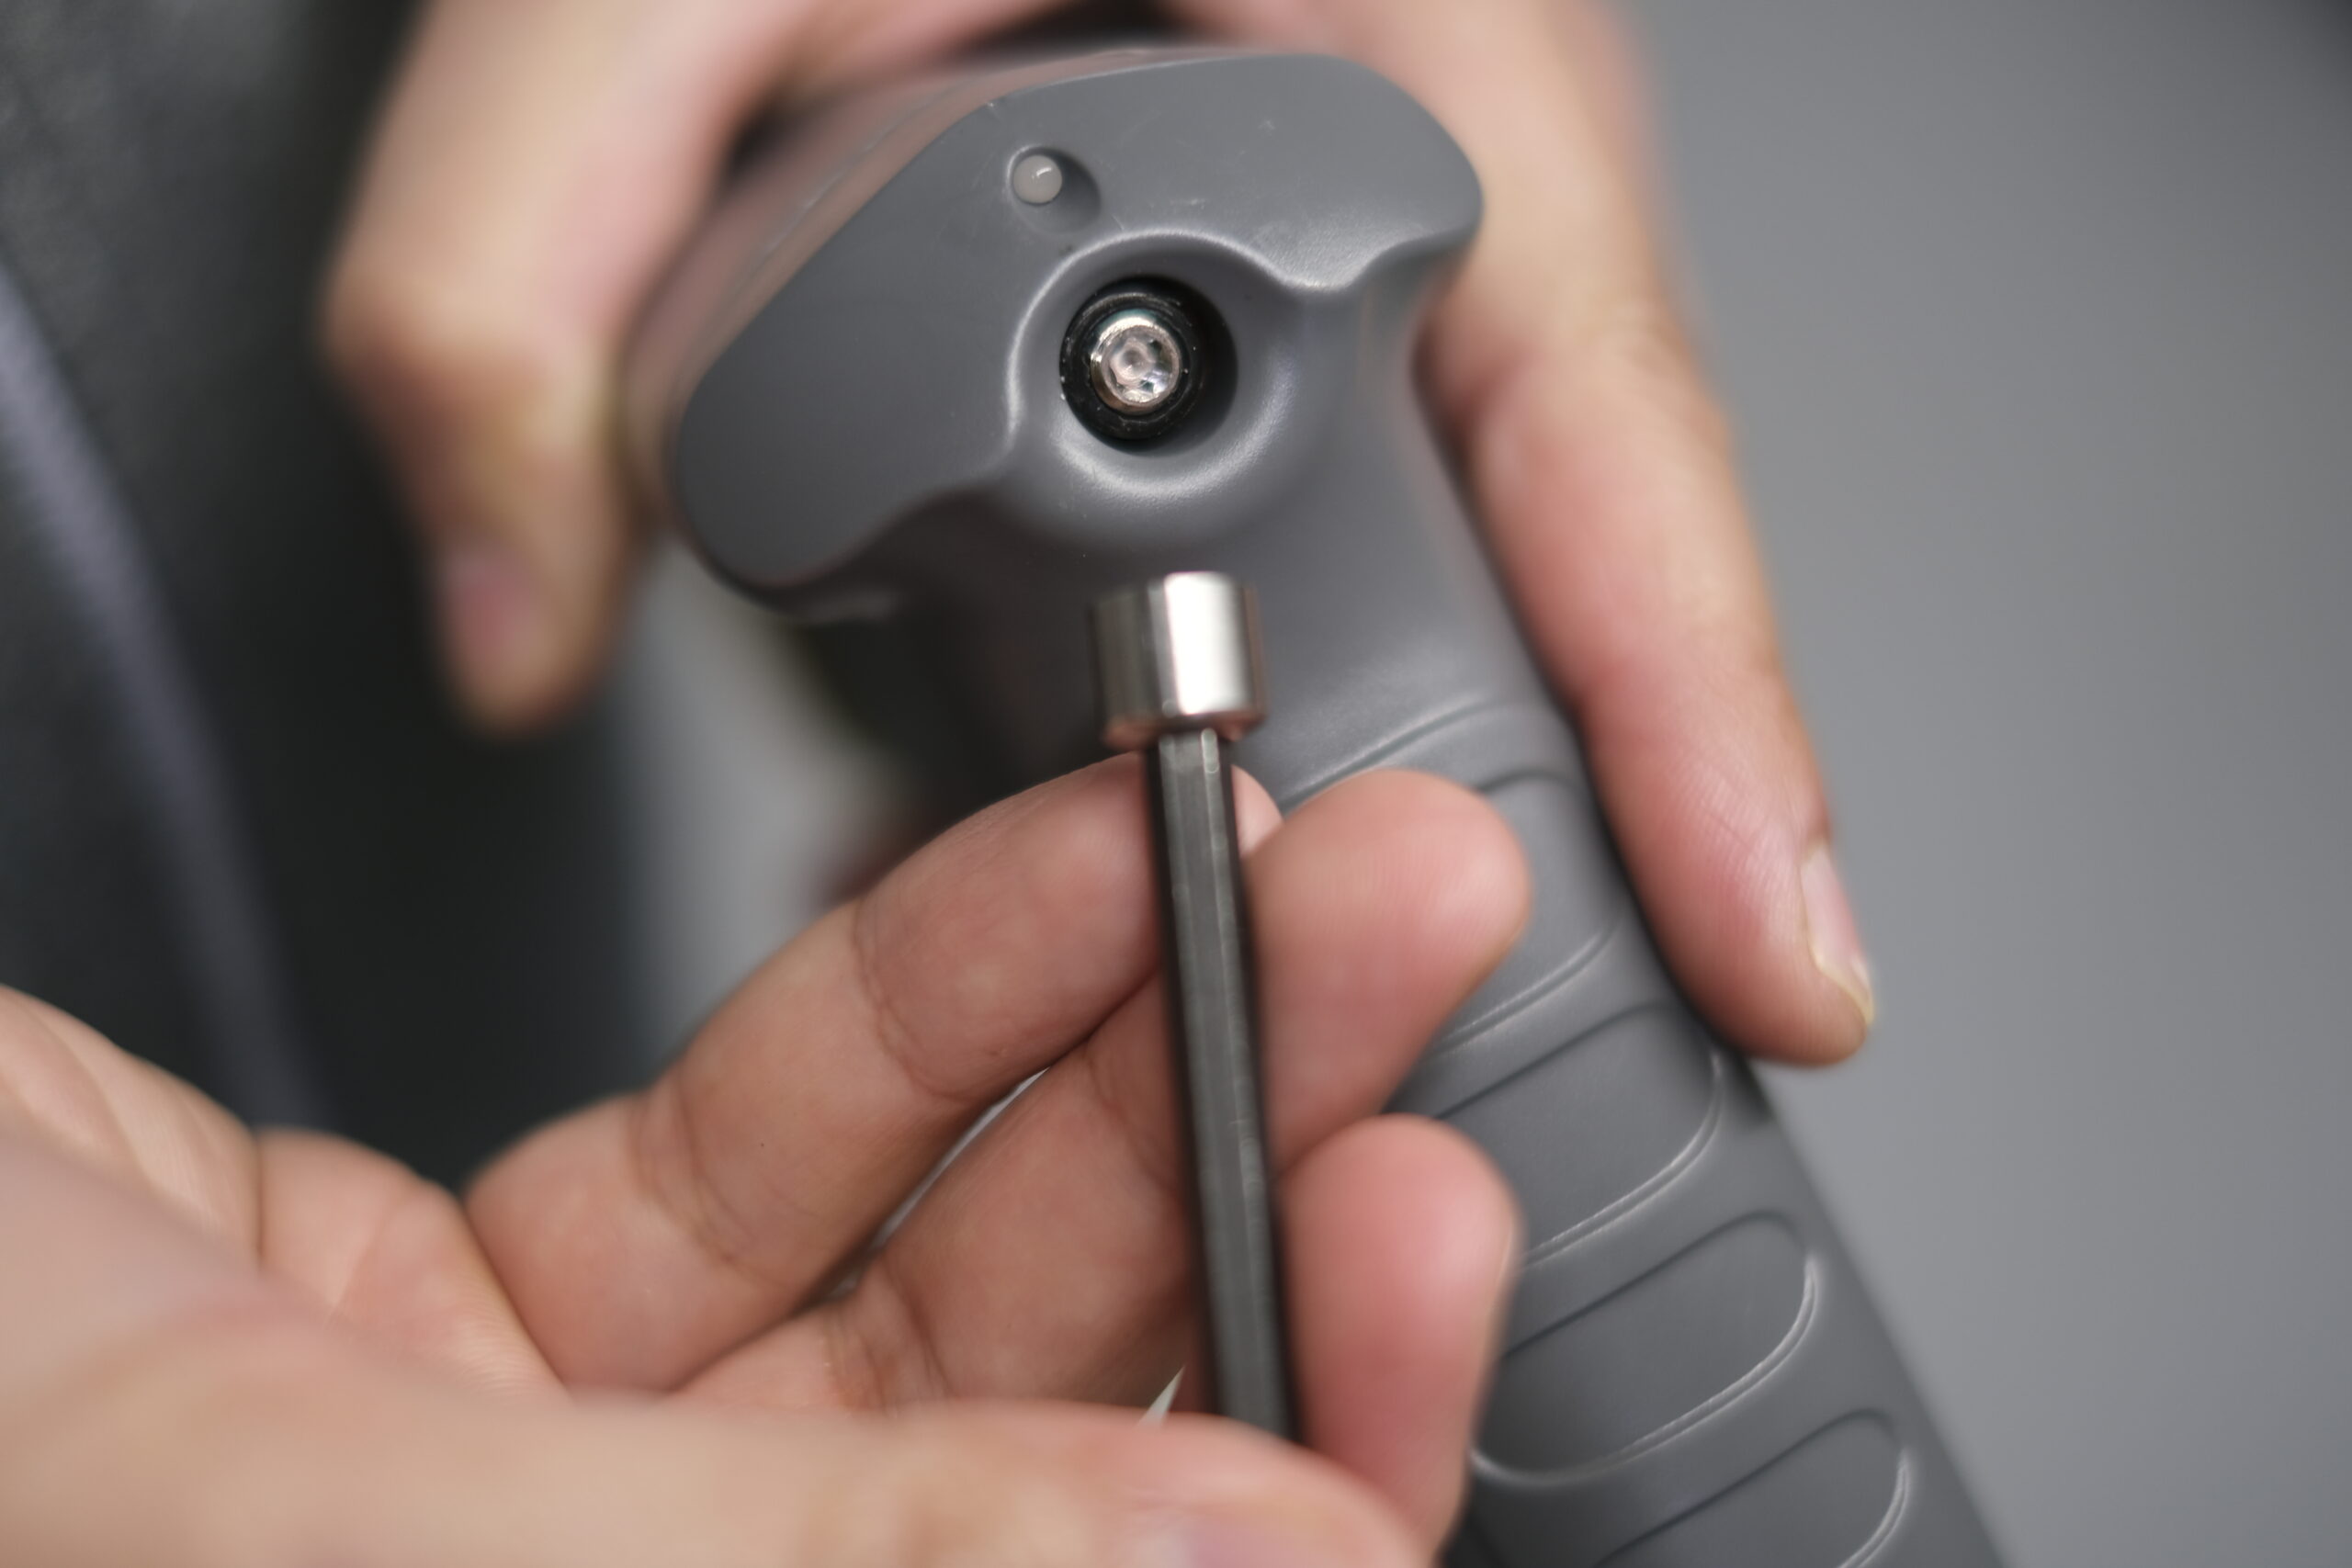
Changing/Adjusting the Ground Pin
E-Drill 1.0How to change and adjust the ground pin of the Center Ground(CG) handtool for an E-Drill 1.0 Machine...