E-Drill Troubleshooting

Delve into our curriculum on E-Drill Troubleshooting. For the full E-Drill Training, Maintenance and Troubleshooting catalog, visit the full E-Drill Academy Page.
Filter E-Drill Academy Videos
All E-Drill Academy Posts
    All E-Drill Academy Posts
    The Status Light communicates various conditions during operation. The status light effects are as follows: Solid Green light upon cut completion – Cut was successfully completed. Solid Green while operating the retract button – Electrode is fully retracted. Flashing Green upon cut completion – Cut was completed successfully but the electrode needs replacement before next…

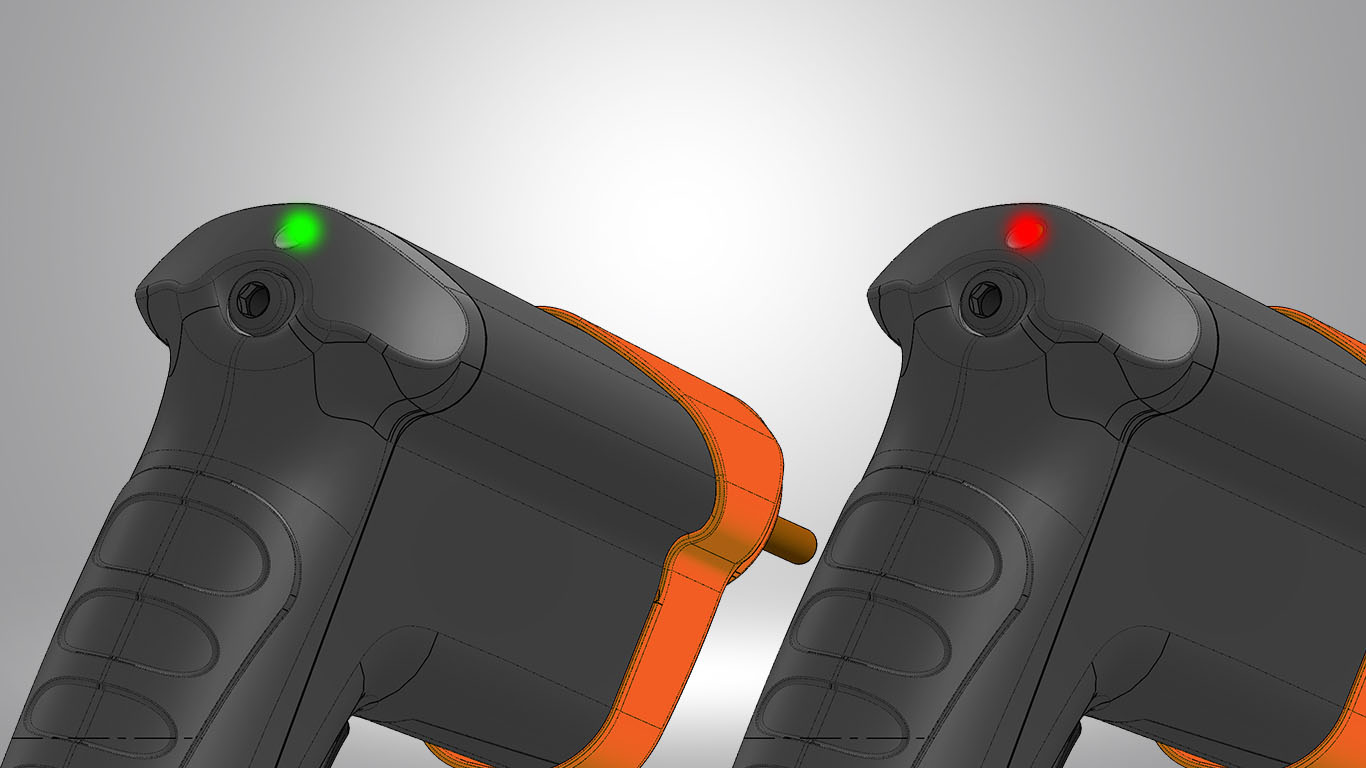
    E-Drill Status Lights

    E-Drill 1.0, E-Drill 2.0
    The Status Light communicates various conditions during operation. The status light effects are as f...
    Please follow this checklist to maximize the performance and reliability of your E-Drill System. The last section of this chapter shows typical damage which might be encountered.   1.1. General Replace any cracked or frayed cables. Tighten any loose connections. Check for leaks. Replace any cracked components. 1.2. Hand Tools Center Ground (CG) Mode –…

    E-Drill 2.0 Daily Checklist

    E-Drill 2.0
    Please follow this checklist to maximize the performance and reliability of your E-Drill System....
    This section of the Maintenance and Troubleshooting Guide lists common maintenance issues encountered and their solutions. In the event of issues, it is recommended that the E-Drill Daily Checklist  is followed before using the deeper investigation steps listed in this section. If a solution cannot be found in this Trouble-Shooting Guide, do not hesitate to…

    Troubleshooting Tables

    E-Drill 1.0, E-Drill 2.0
    Common maintenance issues encountered and their solutions. In the event of issues, it is recommended...
    System maintenance and connecting/disconnecting system components can cause air to become entrapped in the DI water system. Bleeding and charging are sometimes required to assure there is no trapped air in the DI system. Enter maintenance mode from the system menu on the Touch-Screen Display and complete the Top-Off procedure to assure the system is…

    System Bleeding and Charging Procedure
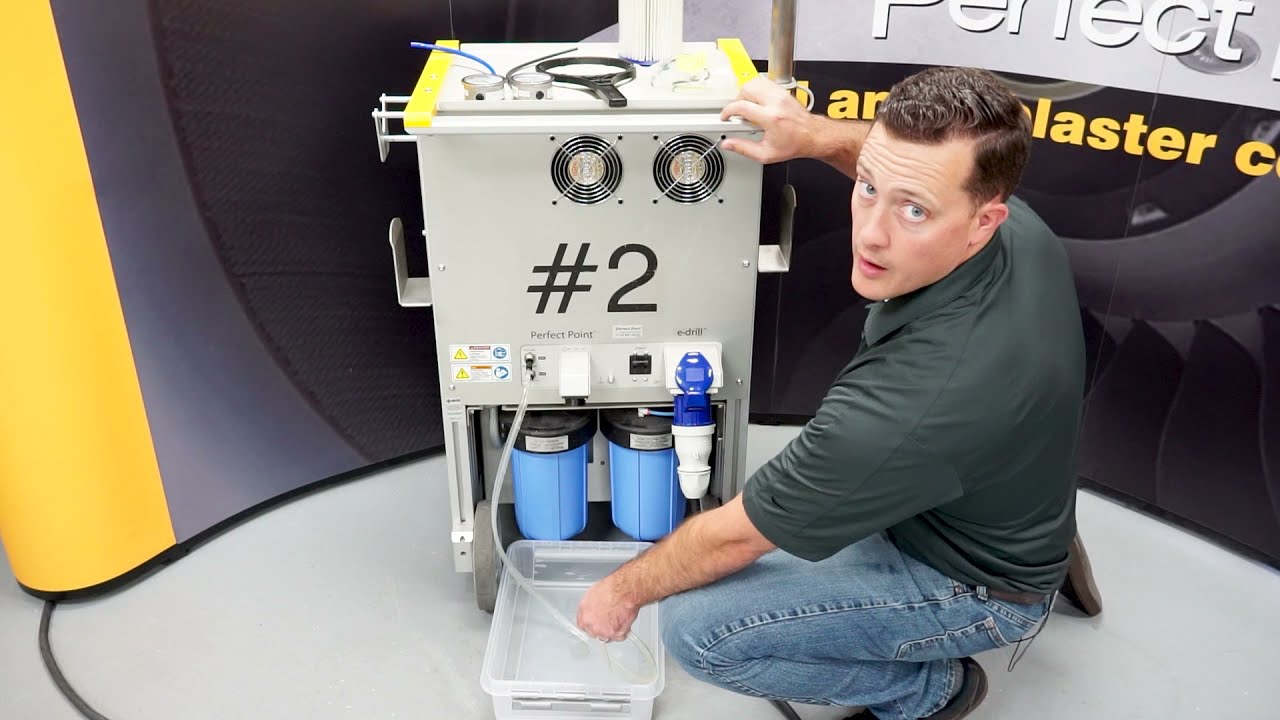
    E-Drill 2.0
    Bleeding and charging are sometimes required to assure there is no trapped air in the DI system....
    The system is provided with Vacuum and Pressure gauges to check the performance of the Dielectric water system. Vacuum and pressure may be checked in Advanced Mode (see Appendix 1) or from the maintenance screen (see Section 3.4). It is suggested that this check be carried out monthly or when inferior performance is suspected, per…

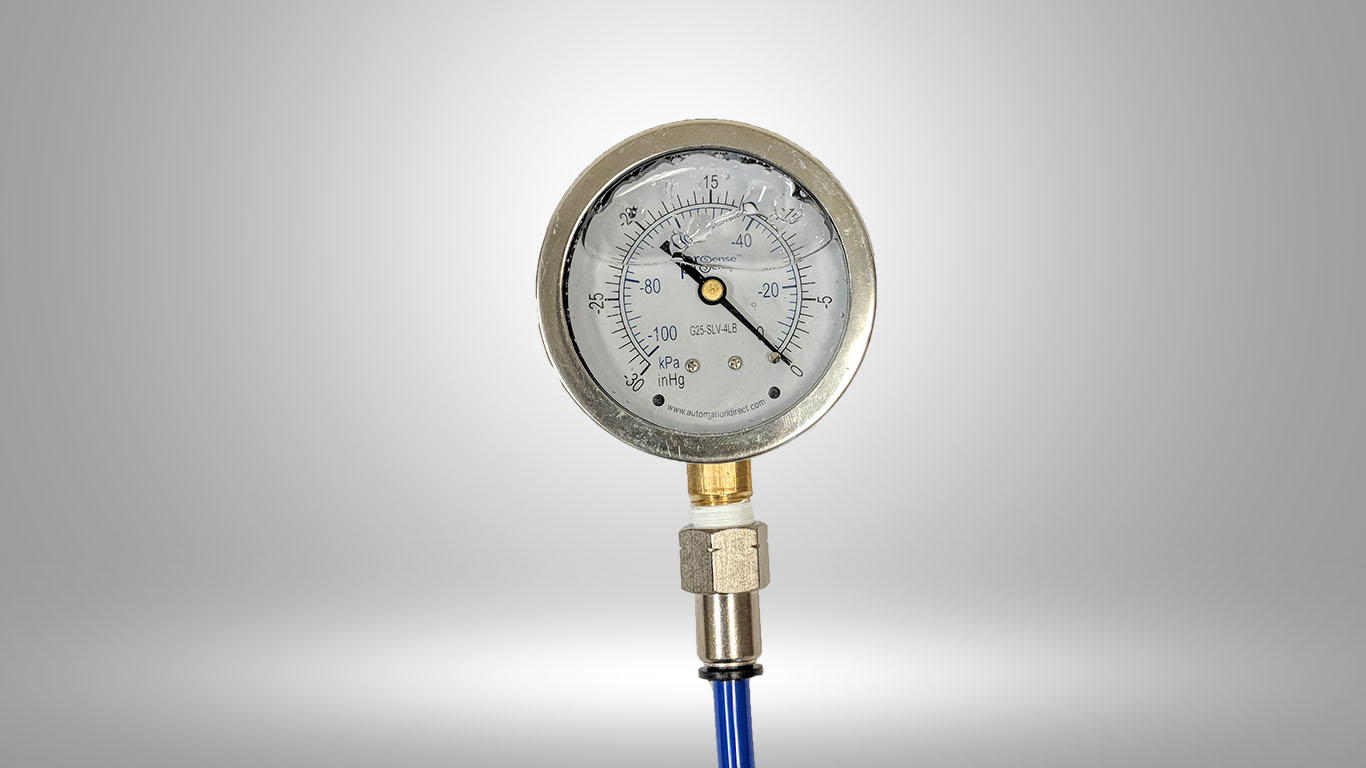
    Checking Vacuum and pressure

    E-Drill 2.0
    The system is provided with Vacuum and Pressure gauges to check the performance of the Dielectric wa...
    Thanks for joining our new, comprehensive, E-drill Training and Maintenance Course. In this section, we change and adjust the ground pin of the Center Ground(CG) handtool. As always, for most maintenance functions, consult the five-step guide on the lid of your tool-cart and the Maintenance and Troubleshooting Booklet in your maintenance kit in the toolcart.…

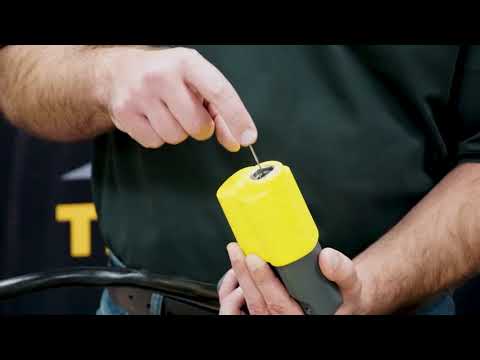
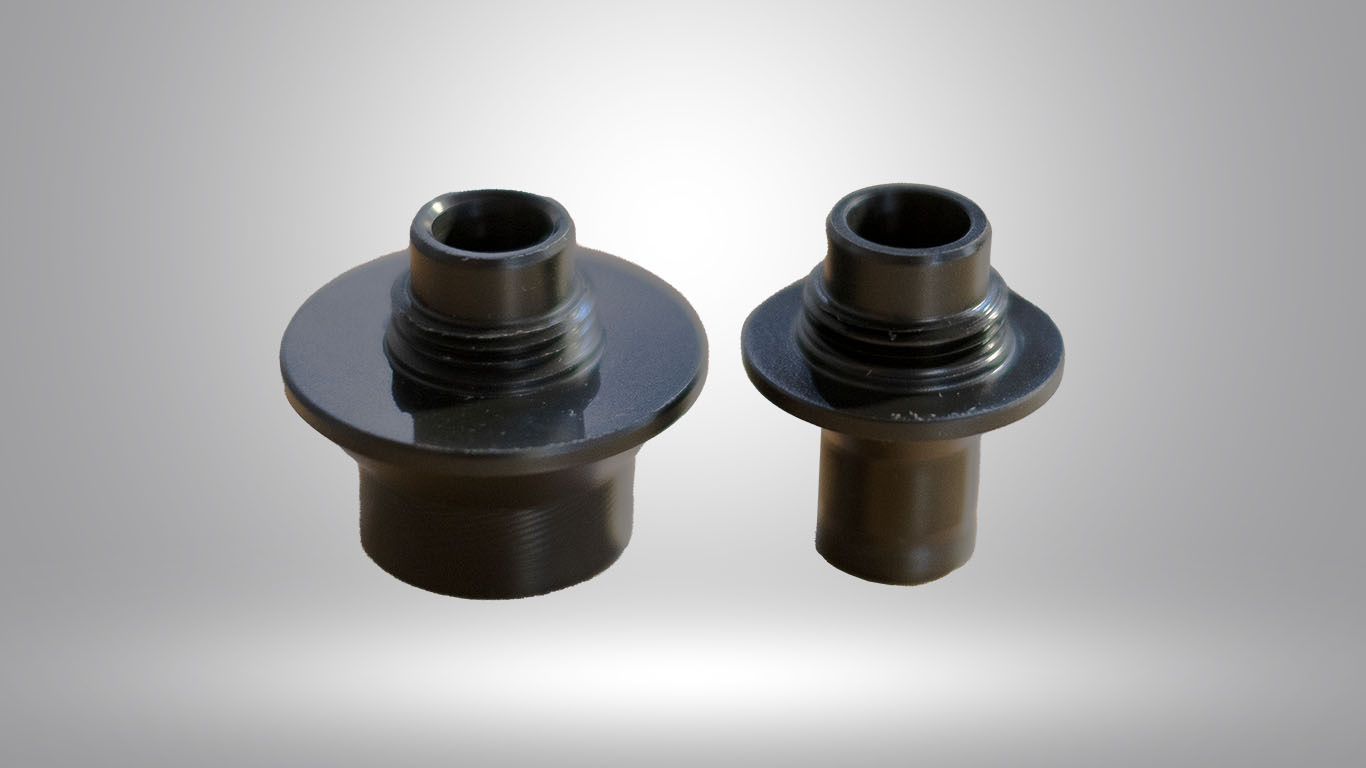
    Changing/Adjusting the Ground Pin

    E-Drill 1.0
    How to change and adjust the ground pin of the Center Ground(CG) handtool for an E-Drill 1.0 Machine...
    Thanks for joining our new, comprehensive, E-drill Training and Maintenance Course. In this section, we perform a bleed and fill. This is performed as a troubleshooting step (if you hear a screeching sound during a cut) and every time after you empty the system. If air is ever introduced to the water system, do a…

    Bleed and Fill (Troubleshooting)

    E-Drill 1.0
    Performing a bleed and fill. This is performed as a troubleshooting step (if you hear a screeching s...
    In this section, we change the MSU filter. This maintenance needs to be performed every 5500 cuts. You will see a 500-cut countdown appear at 5000 cuts(500 cuts left until the system locks). Once the countdown ends the system will remain locked until you run the maintenance and reset the counter. As always, for most…

    Changing the Filter – E-Drill 1.0

    E-Drill 1.0
    This maintenance needs to be performed every 5500 cuts. You will see a 500 cut countdown appear at...