Ground Pin Installation is a critical parameter in efficient operation of the device (much like the electrode in a TIG welder). As described in the Weekly Maintenance Schedule, the Ground Pin should be checked regularly for excessive burning or damage and correct protrusion from the front of the E-Drill. The procedure for checking and adjusting, and if necessary, replacing the ground pin is as follows:
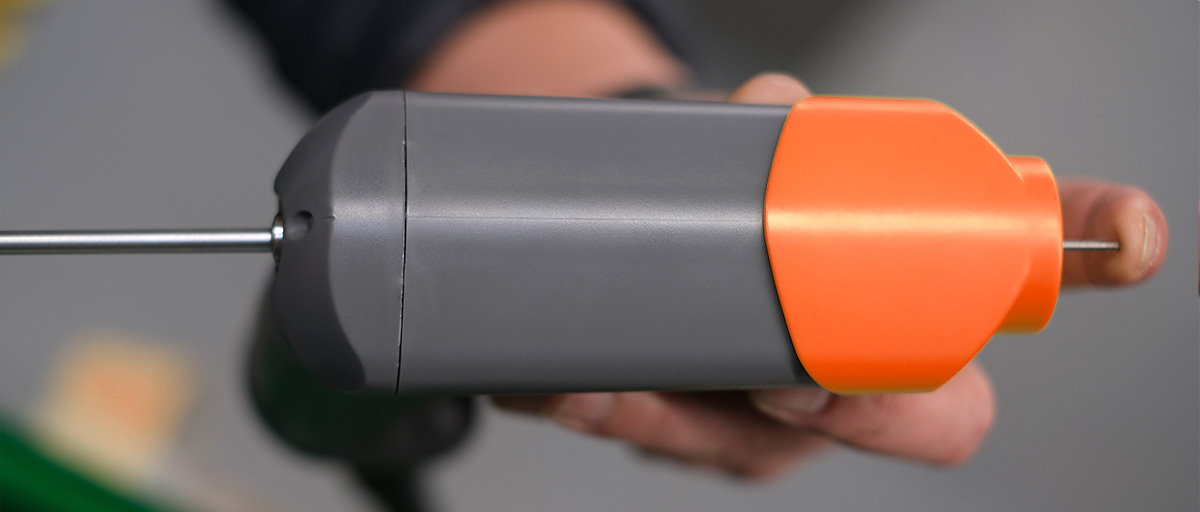
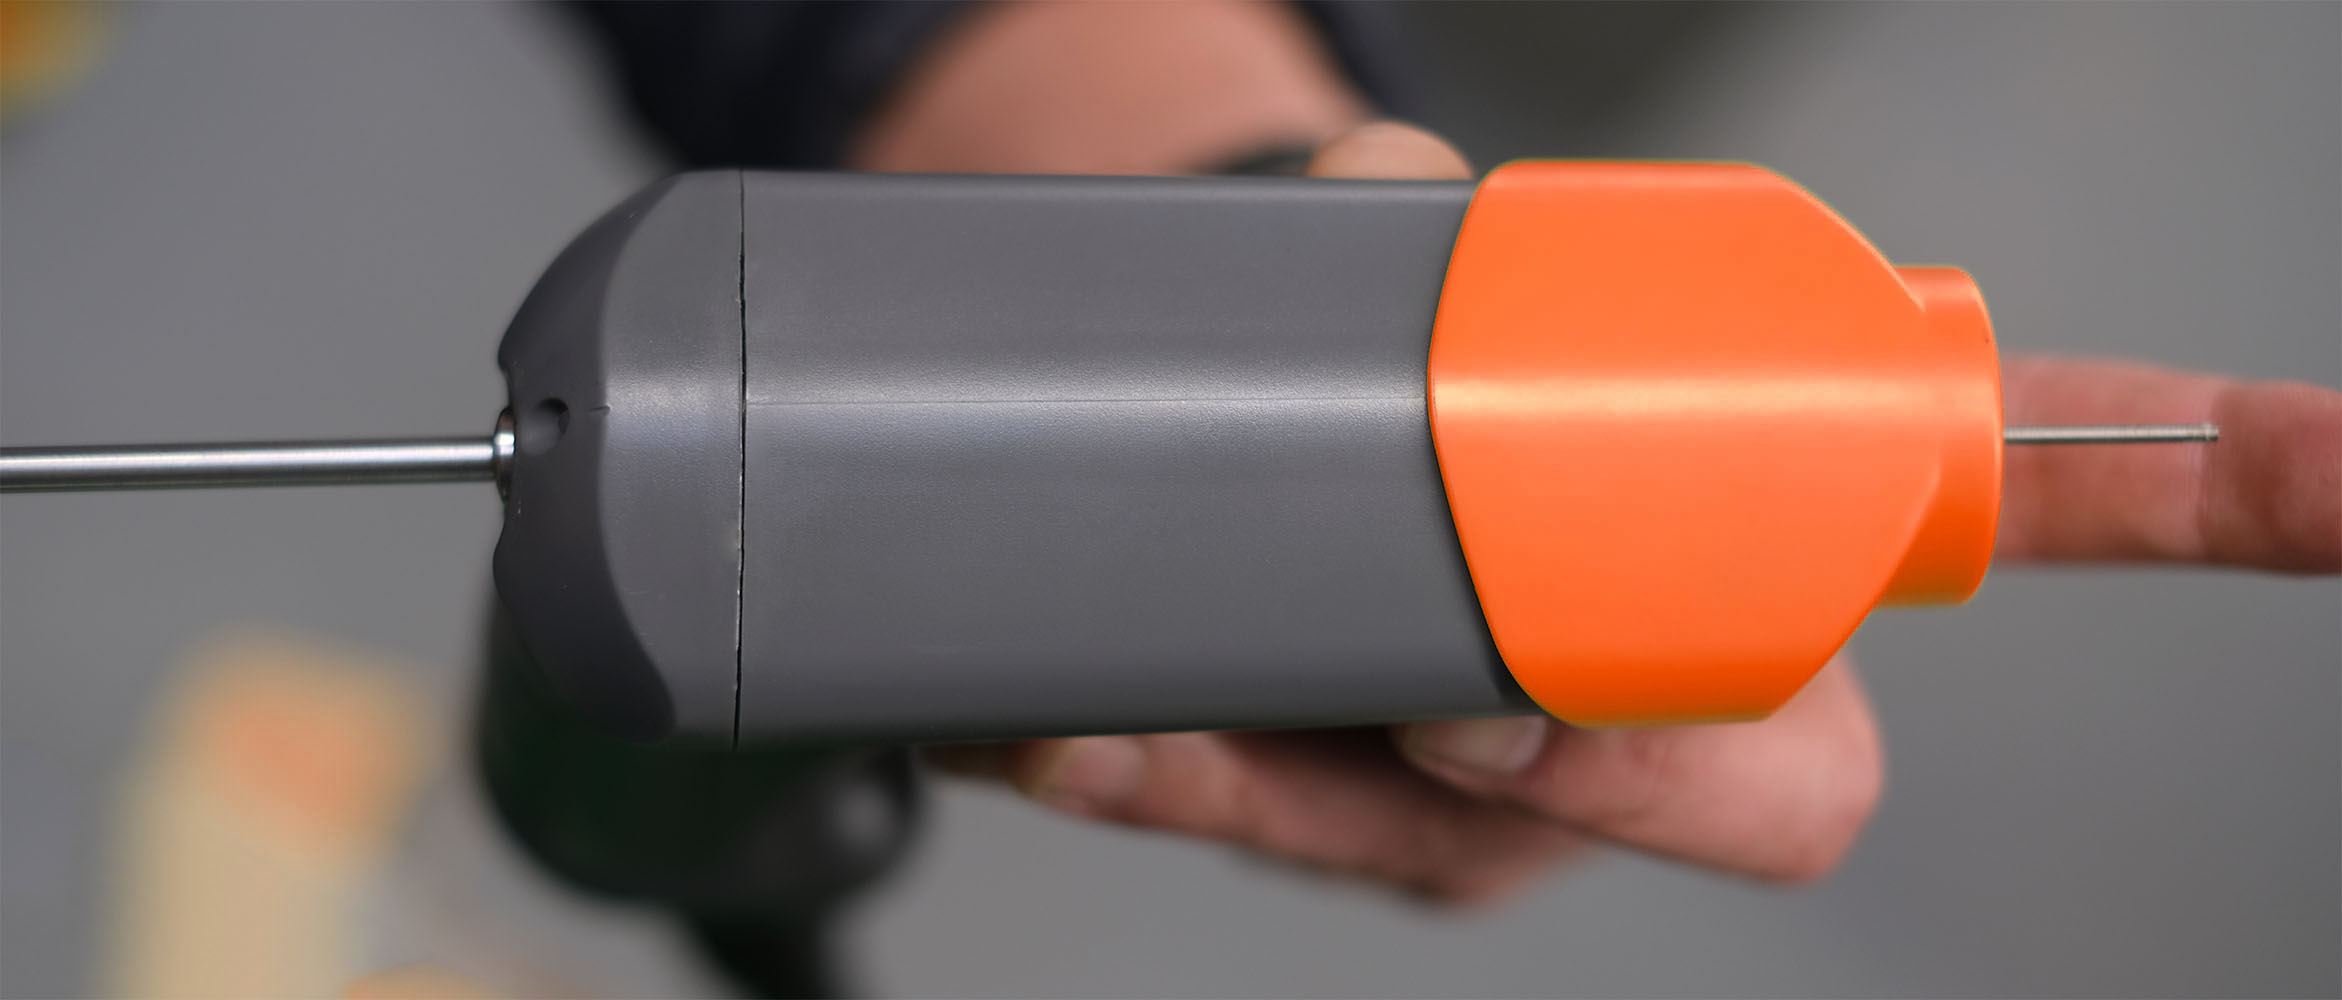
To replace the ground pin, remove any installed Adapter and Electrode, and retract the conducting tube to its full rear position.
Using a 5mm Hex L-Key Remove the cap on the rear of the Hand Tool.
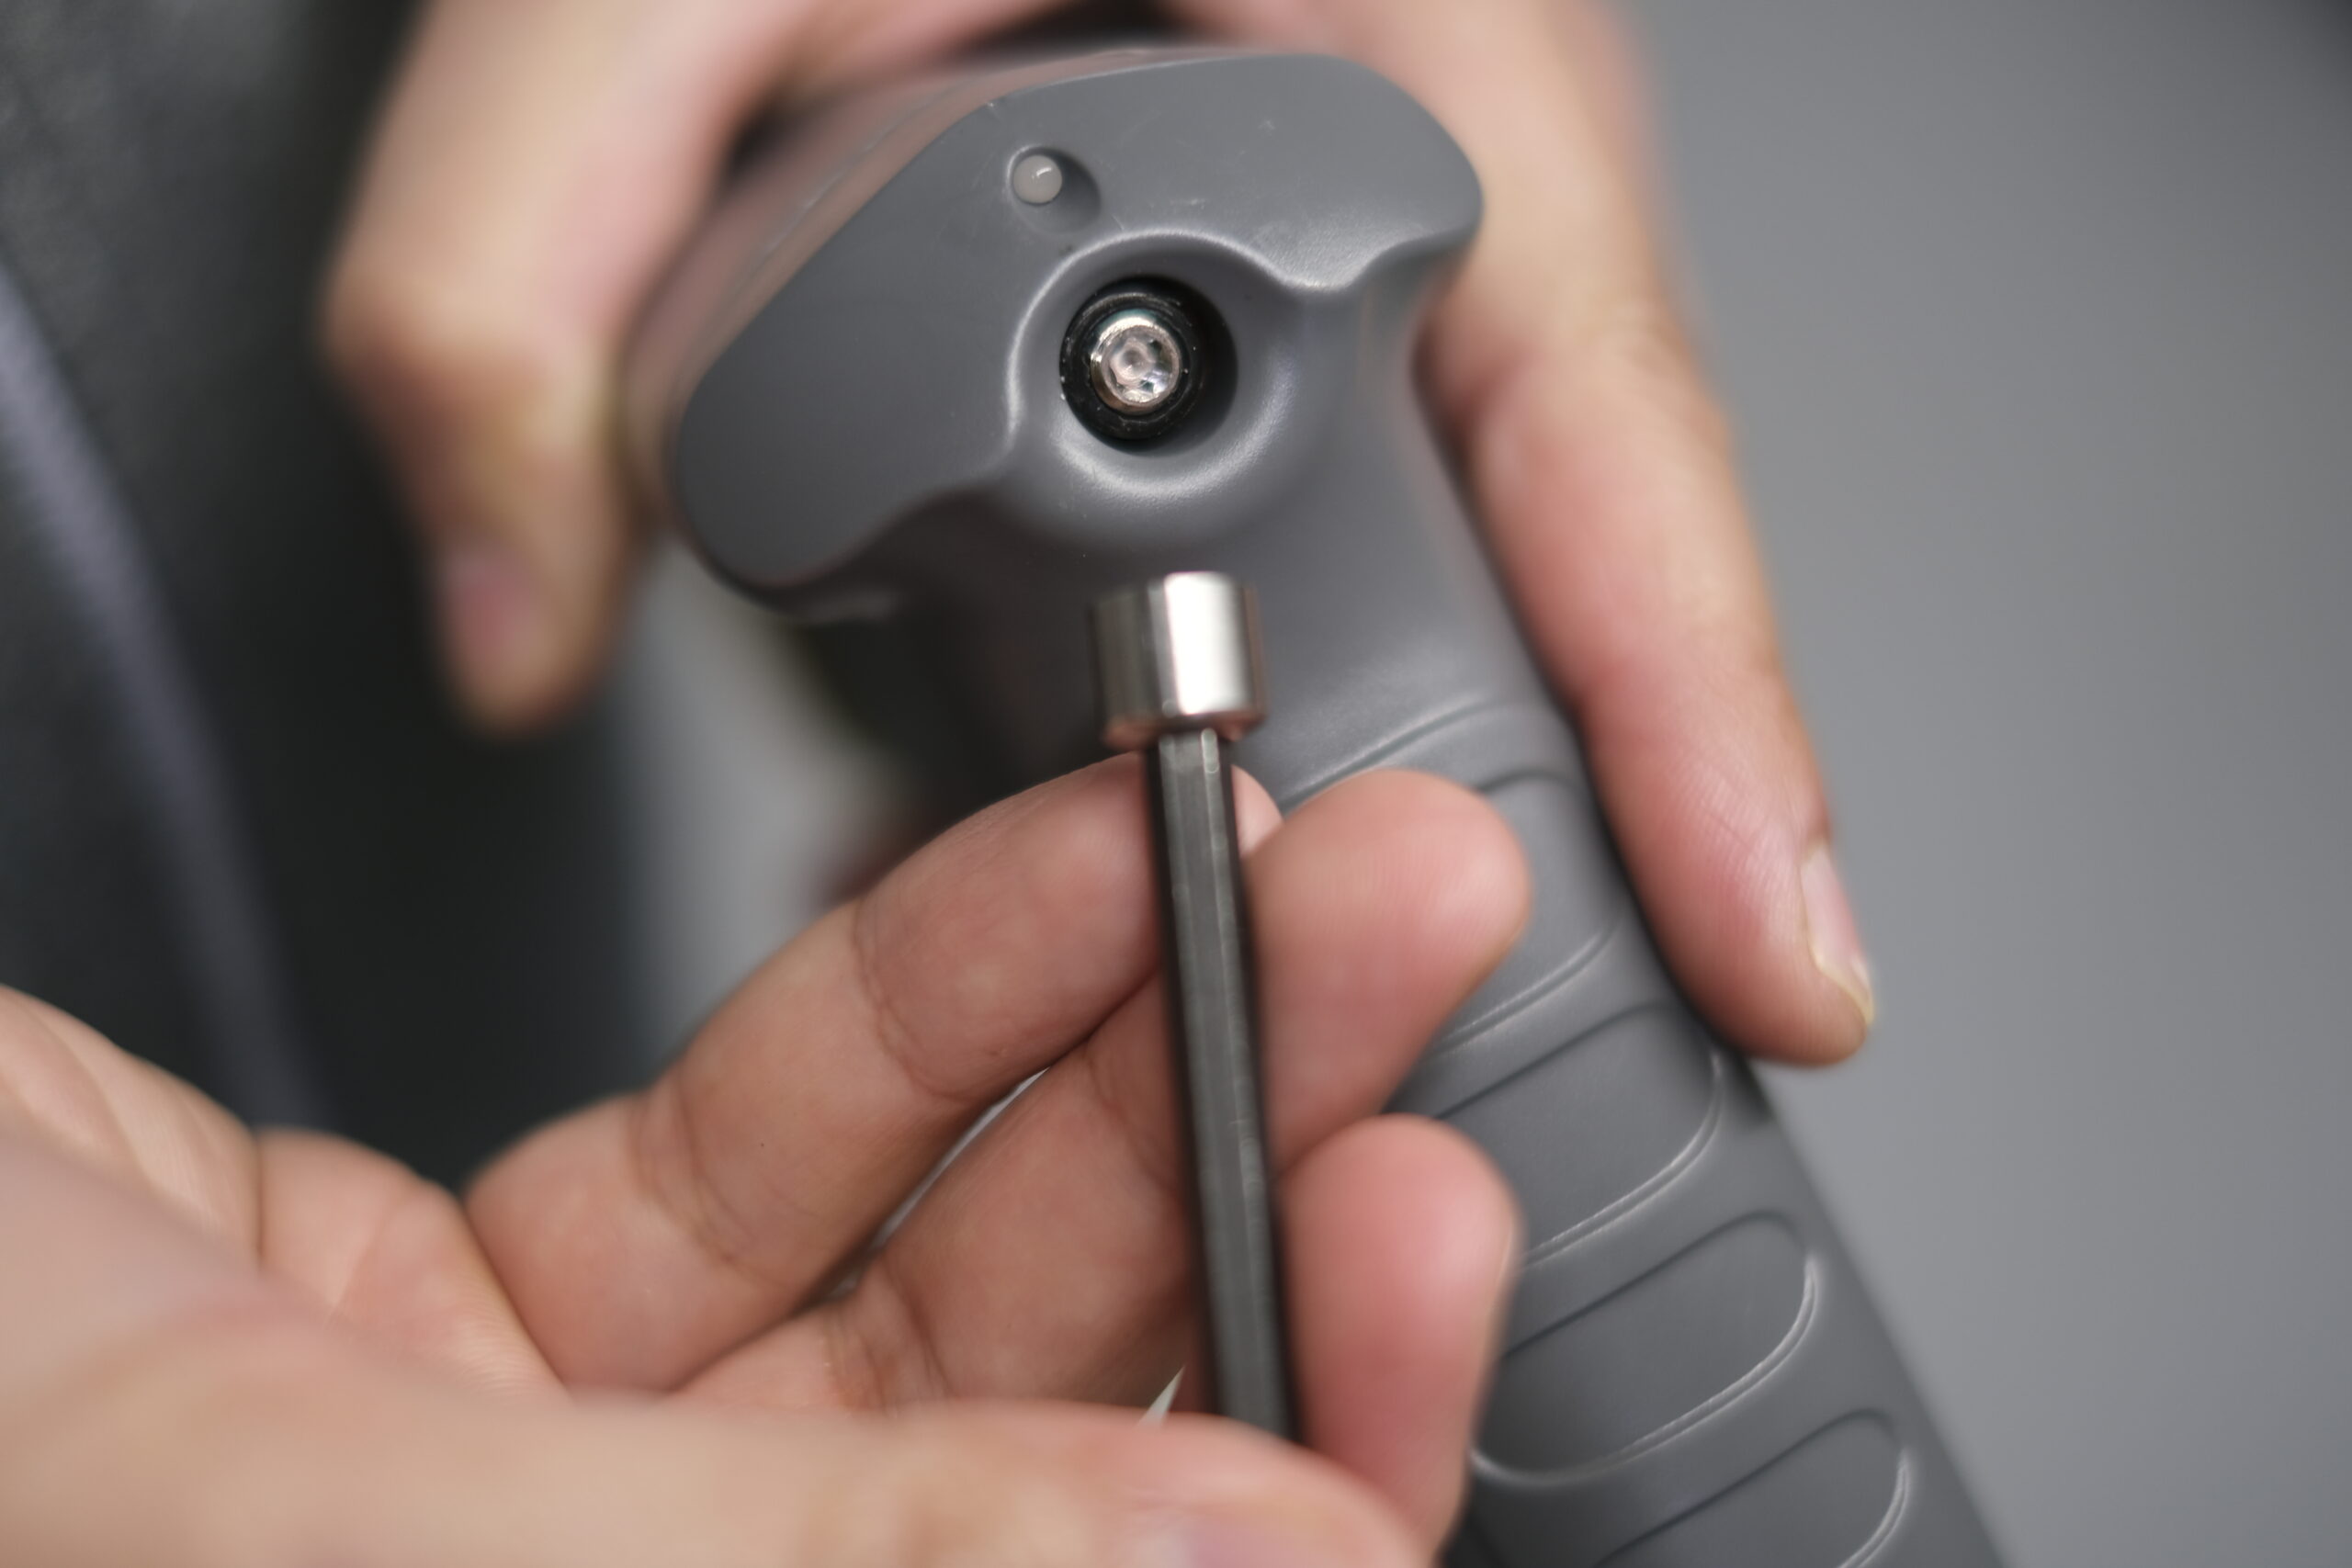
Insert a T20 Torx L-Key in the rear of the hand-tool to loosen the ground pin from its CG seated position. Once it is loose, press the front of the ground pin in, until it reaches the rear set of threads on the Hand-Tool, continue to unscrew the ground pin using the T20 Torx L-Key. Once the rear of the ground pin is completely out of the hand-tool, gently pull it out.
Lightly coat the shaft of the new Ground Pin Assembly with a light coating of O- Ring Lube (do not over lubricate). Insert the prepared Ground Pin Assembly into the back of the E-Drill pressing it through the E-Drill’s internal seals. Use care not to bend the Ground Pin during insertion. Use the T20 Torx L-Key to screw the new ground pin in place. Once it is past the first set of threads, gently press the ground pin until it reaches the next set of threads and continue to screw until it is hand tight. (do not use excessive torque). Reinstall the Ground Pin Cap on the rear of the Hand Tool.
Install the required Electrode and Adapter and resume E-Drill operation.